
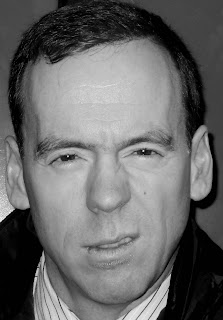
For the digital portrait project I decided on using Mr.Shea as the face I would alter. First I made a black and white version of the picture I took of him. For the second portrait I wasn't to sure on what it was I wanted to do. After watching some photo shop videos on youtube I decided on giving him a demon like appearance. One the tools that I used for this was the Burn tool. I also used the Liquify tool that was under the filter list as Distort and the clone stamp. Using the liquify tool I took the corners of Shea's mouth and stretched them up towards his eyes to create a grin. Then using the burn tool I darkened his smile, eyes, face, clothes, hair and the background for a darker feel. Using the clone stamp I was able to make multiple copies of his front teeth to fill in his mouth. The title of the second portrait I attached to this post is "Shea's Demonic Grin".


